So you've got that awesome base painted and ready to go! Expect you don't have anything teetering on it yet... Good news people. I have brought to you the second part of the Teeter Build. And might I say it went very well.
The supplies!
You will need:
- Eight 1 and 1/2" screws
- A drill with corresponding bit
- Four 3/4" pipe fittings
- One 1/2" galvanized pipe
- A tape measurer
- A marker
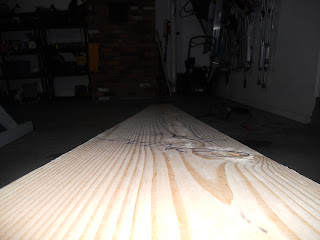
- One 12' board that is 2" thick and 12" wide
She's a big one!
Measure out your board. Firstly, make sure its the correct length. Its a good idea to actually bring the tape measurer to the lumber yard with you so you know exactly how long of a board you are getting. Secondly, we need to find the middle (6'). Mark the middle and choose the side that will be the "short side". Make about 1"-2" from the center line. By deviating slightly from the center, you can make sure the teeter with favor a side. The "long side" will always rest on the ground, the "short side" will be up in the air until the dog tips it.
Line the pipe fittings up on your "short side" line. I used the galvanized pipe to make sure they all lined up correctly. The end caps for the pipe should be taken off in case you need to make some adjustments or you want to slide the pipe out without disturbing the fittings.
Now you tap the screws in. This way the fittings aren't going anywhere whilst you prepare to drill. Drill in one side of fittings at a time. Make sure that you aren't screwing all the way through the board and onto the topside. Screws + dog paws = no good. After you screw in the first side, proceed onto the other side.
It should end up like this! The fittings are secure but the pipe has sliding room. It will rotate freely without jiggling loose. Slide the pipe out and jockey the board onto the base. Its really nice to have a partner help you with this. I did it by myself and it took like 20 minutes. The board is heavy so be careful lifting it. I suggest balancing the board on boxes so you can slide the pipe through the wood holes into the pipe fittings and out the other wooden hole quickly/way more easily than trying to hold it.
Finished teeter building! Its on its lowest setting (12") because we are still training.
Next we move onto the painting the board. You will need paints of two different colors.
Supplies:
- Blue paint
- Yellow paint
- Play sand
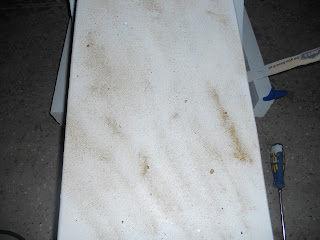
Blue is the board's main color so I put a coat down and then sprinkled the play sand over it. This improves the grip of the board. I would not use this board in icy or slick coniditions. It is meant for ideal weather only. Use your best judgement during outside practice!
Give the first coat an hour or two the come back and put on another coat of paint and sand. Repeat one last time until you have paint, sand, paint, sand, paint, sand, and a last coast of paint. Its like a paint and sand sandwich!
Your teeter is practically finished. Be sure to look out for our final install in the Teeter Build series: Teeter Build Finishing Touches. A Teeter Training post will also be made for your enjoyment.


No comments:
Post a Comment